How to trigger email notifications on a contact form with Supabase
A simple tutorial on Database Functions and Triggers - Part 3
Published: November 13, 2023
•
Updated: November 13, 2023
This marks the conclusion of my Supabase tutorial series. If you haven't done so already, please take a moment to check out the preceding articles, "How to create a contact form with Supabase & Next JS (Part 1)" and "How to send emails with Edge Functions on Supabase (Part 2)". For this article, we will continue using the same Supabase project and API keys.
In Part 1, we established a connection between our contact form and the Supabase table (contacts). In Part 2, we developed an edge function to send emails (email). However, our contact form and edge function remain unconnected.
In this tutorial, we tie everything we have learned so far. We delve into creating a database function on Supabase which interacts with our edge function (email from Part 2). Additionally, we'll explore the creation of a database trigger to invoke this database function whenever a new row is added to the contacts table. This establishes a direct link between the contact form and email notifications.
To follow along, a basic understanding of SQL is recommended, but no worries - I'll provide some explanations as we progress.
Database functions
Within Supabase, Database functions are essentially SQL functions supported in Postgres. These functions can be created either in the SQL Editor (as illustrated below) or directly on the Dashboard. For the sake of this tutorial, we'll opt to use the Dashboard rather than the SQL Editor.

Create a Database function
Navigate to the Database Functions page on your project's dashboard, it should be identical to the screen below.

Next, click on create a new function button to follow create a database function.

We call this function send_contact_email. Feel free to call it whatever you like.
We set the return type to trigger here because we need this function to be triggered by an update to our contacts table - this is called a Trigger function. The return type of a database function can be set to any return type from the dropdown though.
This function doesn't need any arguments, so that section is empty.
begin
  select
    http(
      (
        'POST',
        'EMAIL_EDGE_FUNCTION_URL',
        ARRAY [http_header('Authorization','Bearer API_KEY')],
        'application/json',
        concat(
          '{"name":"',
          new.name,
          '", "email": "',
          new.email,
          '", "body": "',
          new.body,
          '"}'
        )
       ) :: http_request
    );

return new;

end;
As seen above, we use the http extension (more on this later) to send the values of the new table row: name, email and body, to our email edge function. Replace EMAIL_EDGE_FUNCTION_URL with the actual URL from your edge function dashboard and API_KEY with yours.
Switch on the advanced settings toggle to set the type of security you need, if applicable. I selected SECURITY DEFINER for the sake of this tutorial, but this depends on your use case.

Once you make a selection, submit to create your function. The function should be visible on the list, as shown below.

Enable HTTP Extension
To make API calls from our database function, enable the http extension in the Extensions Tab of your Database. Read more about the http extension.

Next, we call our trigger function.
Database Trigger
According to the Supabase documentation,
"In Postgres, a trigger executes a set of actions automatically on table events such as INSERTs, UPDATEs, DELETEs, or TRUNCATE operations."
To call our trigger function, we need to create a trigger object that determines when the function is called. You can read more about this here.
Thankfully, this can be done from the Dashboard on Supabase.
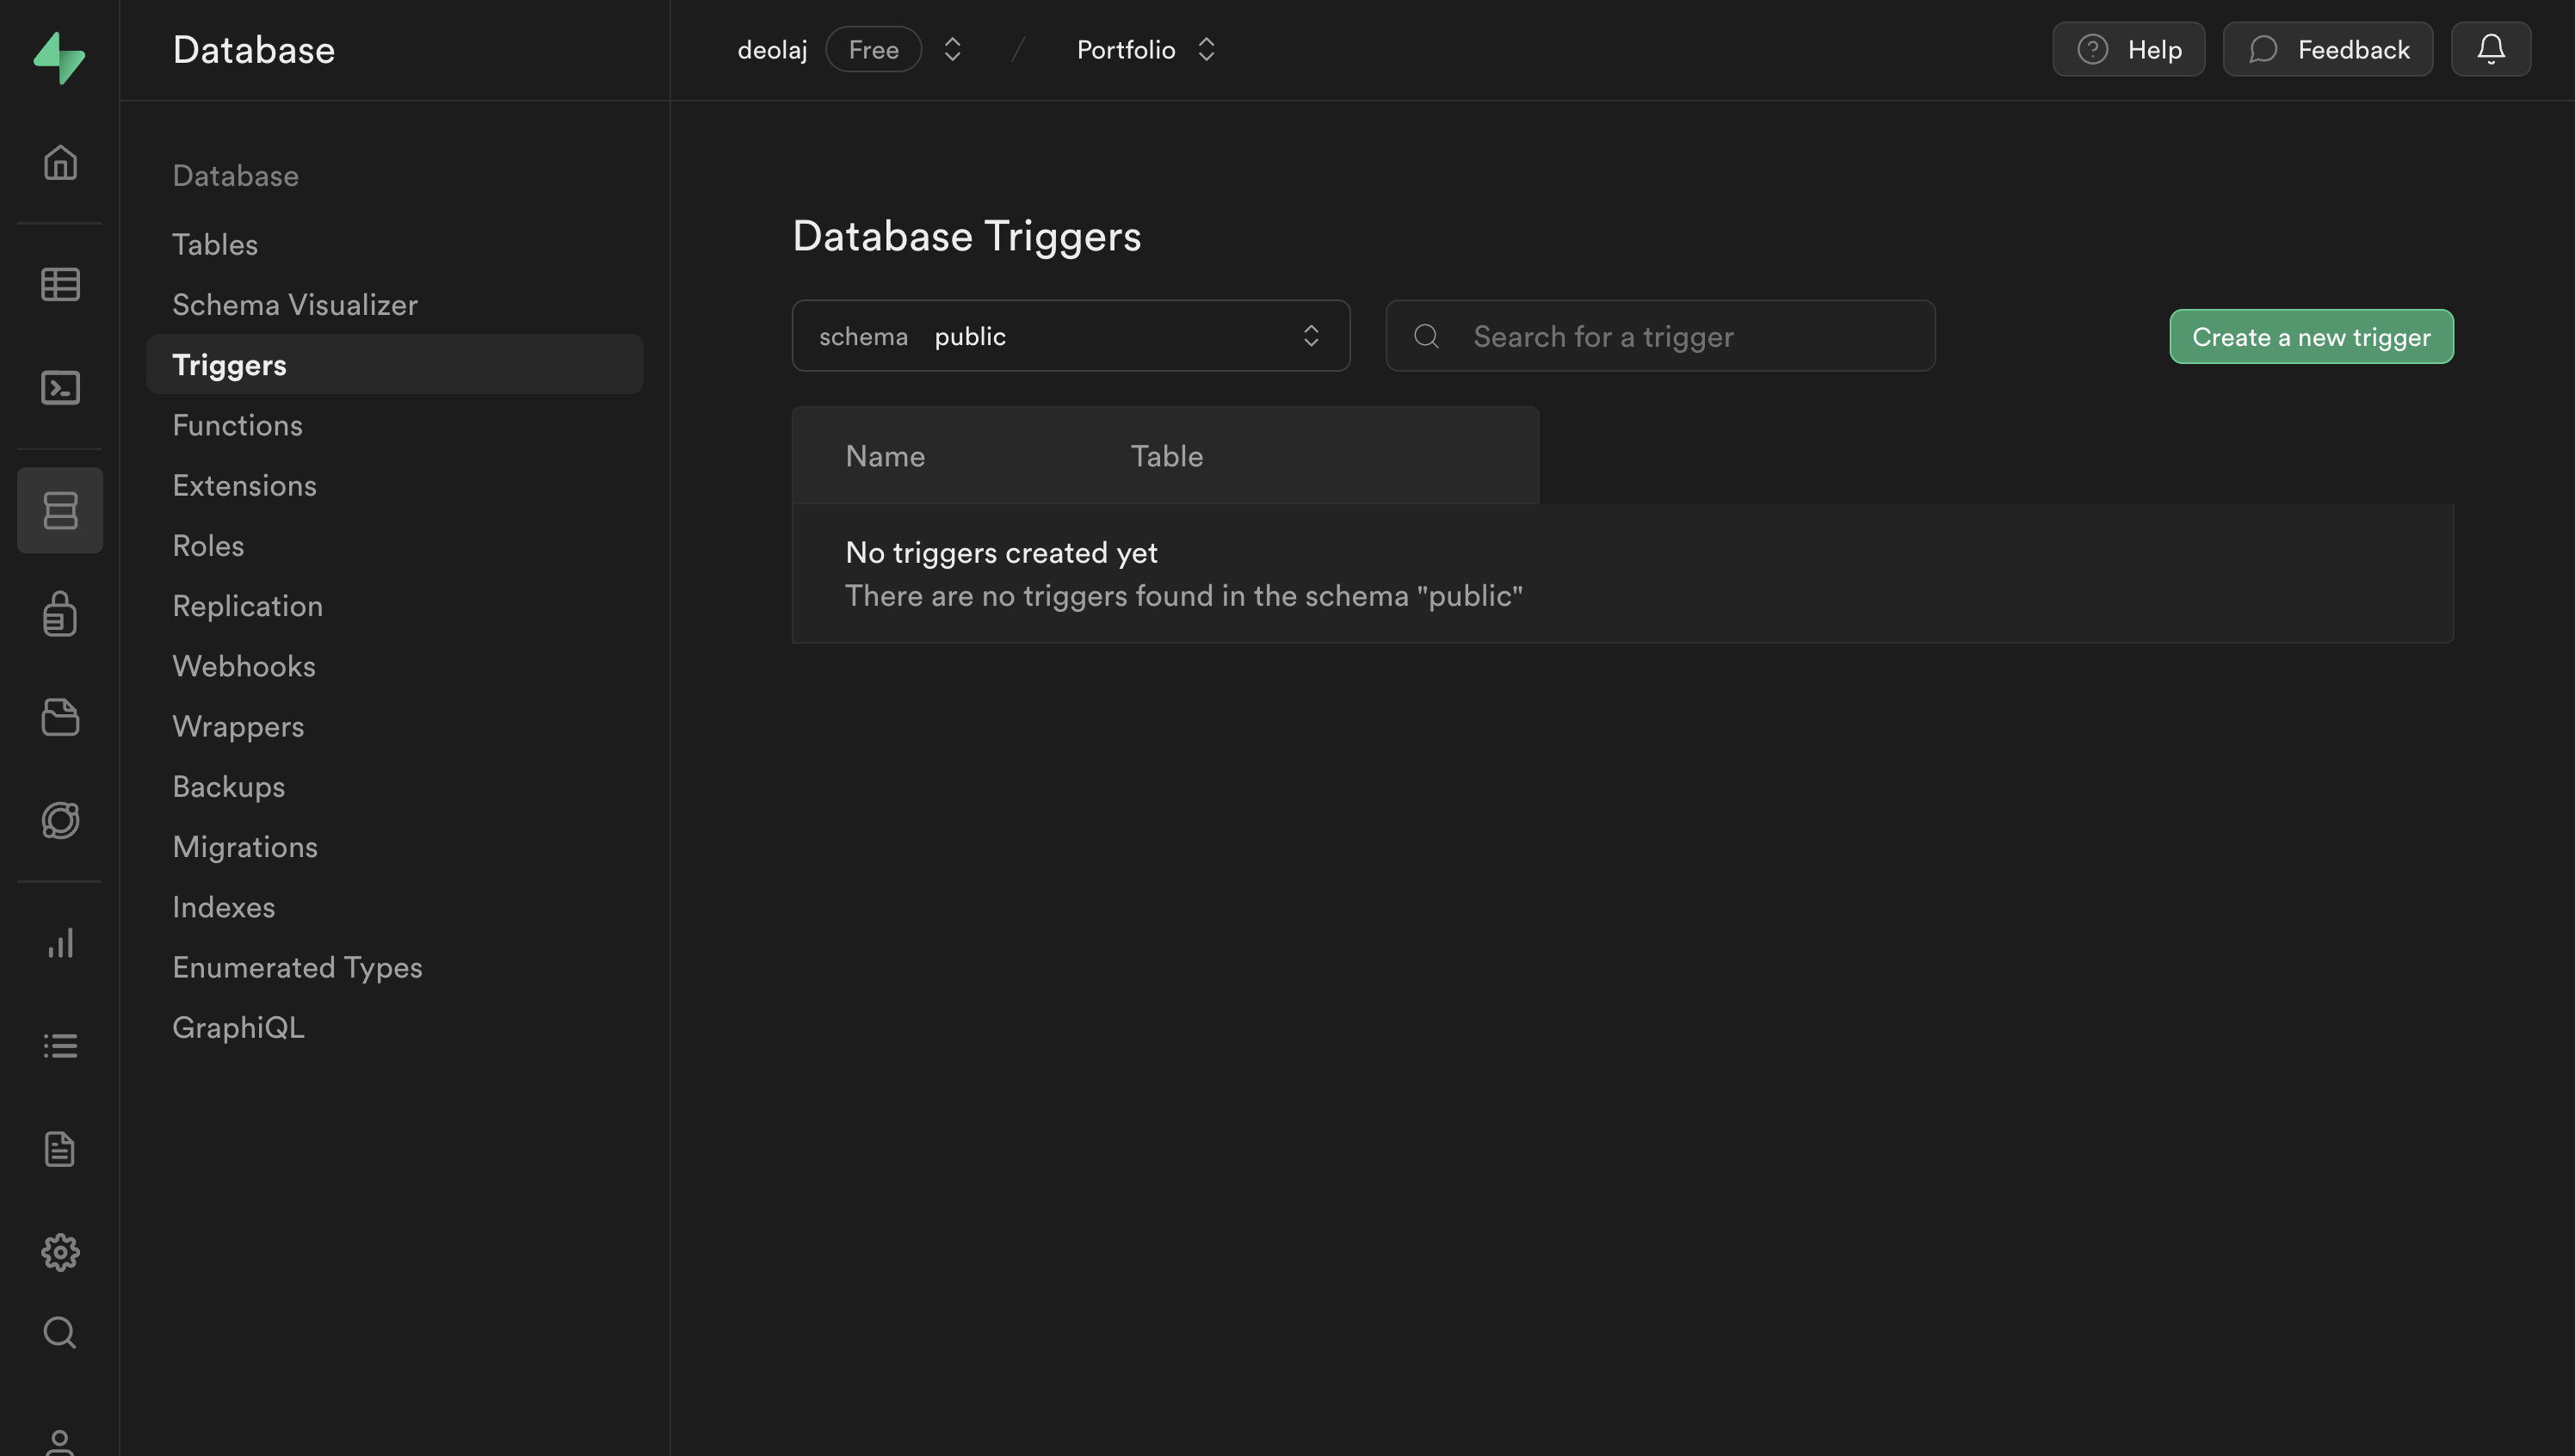
Create Trigger
Creating a trigger is easy, click on the create a new trigger button.


First, we name the trigger send_contact_email, same as the database function. Feel free to choose a name that suits your preferences.
In our case, we want the trigger to monitor the contacts table, and specifically aim to trigger email sending when a new row is added. Therefore, we select the Insert event. The trigger type is set to After the event, reflecting a personal preference, the alternative option is before the event.
Next, we configure this trigger to run on each Row in an operation - this choice explains why we reference new.name, new.email, new.body in our database function earlier. This ensures that even in cases of a bulk insert operations, emails are sent for each entry in the table.
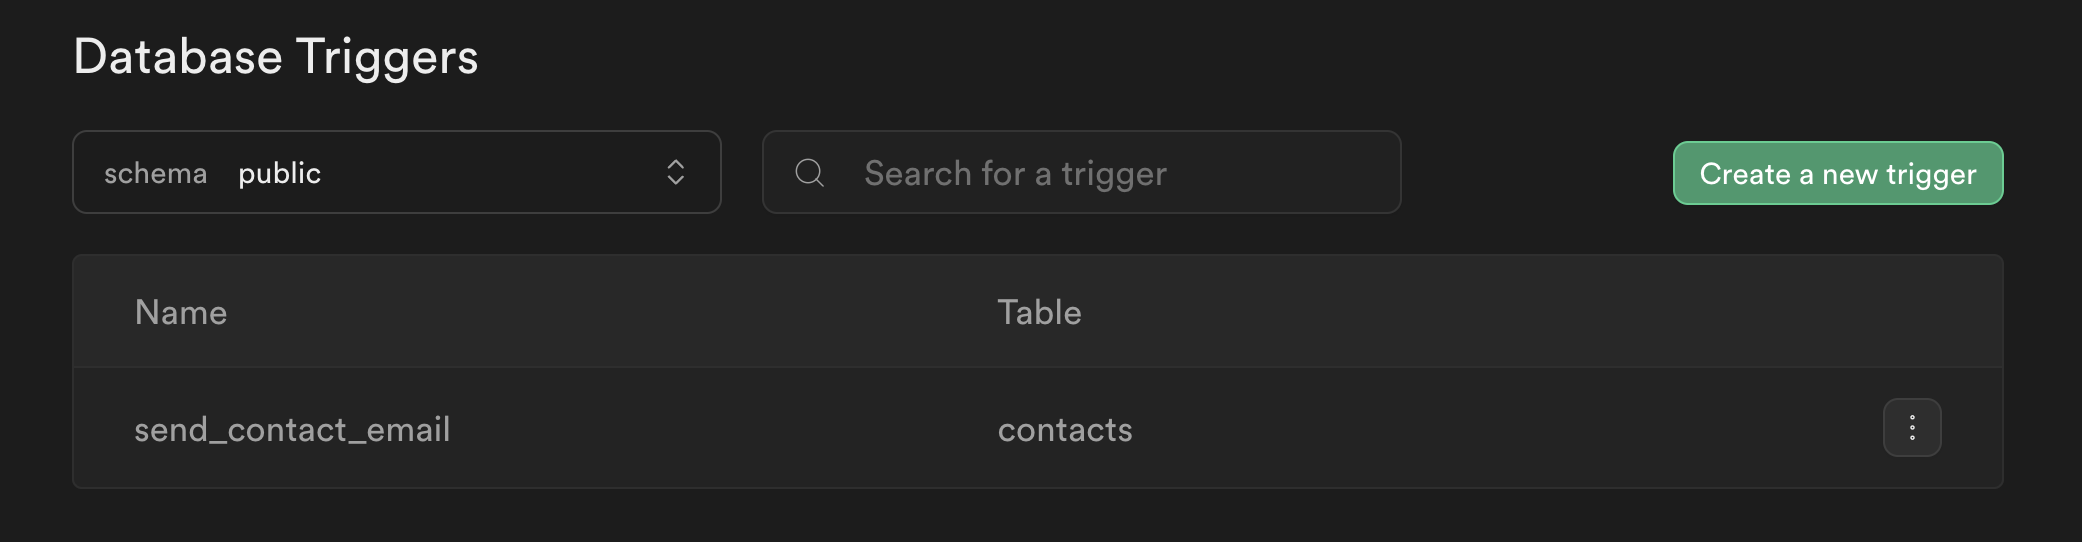
Finally, we select the function to trigger. You should see the send_contact_email function in the list of database functions. Submit the form to create your trigger, and you are done.
Complete workflow
To understand the end to end flow,
- An entry is submitted on the Contacts form (Next JS)
- This creates a new row in the
contactstable on Supabase (from Part 1) - The
insert operationcalls thesend_contact_emailtrigger - The
send_contact_emailtrigger calls its corresponding database function -send_contact_email. - The
send_contact_emailfunction makes an API call to theemailEdge function with the values of the new row. - The
emailedge function (from Part 2) sends an email to the provided email address.
To test whether it works, submit an entry to the contact form or directly on the contacts table, and the email submitted should receive an email notification. Alternatively, you can test this on the demo page.
Conclusion
It's worth noting that there are shorter alternatives to this approach. We have the option to directly call edge functions and database functions from the client, as demonstrated in the NextJS application in Part 1, without the need for a trigger.
Nevertheless, in the interest of introducing some of Supabase's products, I chose to present this approach in a 3-part series.
Feel free to share your suggestions in the comments too for others to learn.
Thank you for following along.
Header photo by Bill Jelen on Unsplash
Contact
Are you ready to work with me?


I'm actively open to new opportunities and requests.
If you have a question, or just want to say hi, I'll try my best to get back to you.